Wow. It's been three weeks since I've updated My Buttery Fingers! Although it's summer, I haven't been baking much. Here are some excuses: It's too hot. I have too much school work to do -
EE, university
applications, homework, revision and more revision. And work experience (for me, that's two weeks at a lab. It's really fun though!)
I might have not been in the mood to bake, but I was
definitely in the mood for ice cream.
More ice cream, I should say - but that's the only thing I've been churning out, so I apologise for the bombardment of posts about ice cream on my blog! But again, everyone screams for ice cream...right?

But this post isn't just about ice cream. It's about a twist on
Dorayaki, a Japanese snack which is basically two pancakes sandwiched with a slather of red bean paste (
anko). Here, its been transformed to an ice cream sandwich of
some sorts - I've made
Dorayaki filled with
Matcha (green tea) and Red Bean Ice Cream.
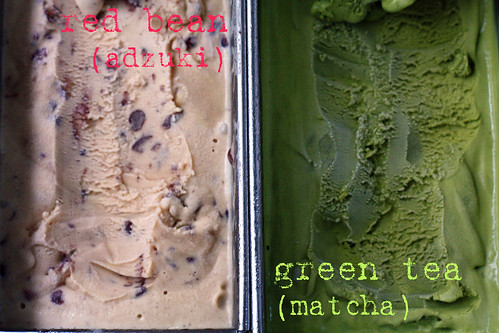 Matcha
 ice cream is already a family favourite after making it a few times last summer. It's really refreshing, and the subtle bitter aftertaste is a great match with the creamy base, making it popular with the adults too.
Red bean, however, was a new attempt. And I was glad I made that attempt, because the ice cream is SO GOOD. I understand that beans in
ice cream may not be something everyone would like, but please please
please let me tell you about it: it's creamy, it has a great texture with the soft beans contrasting with the smooth, red bean infused ice cream base, and the rich milky flavour is just the perfect match with the mild sweetness of the red beans.
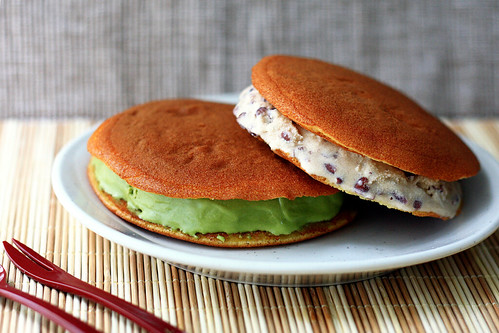
The fluffy and fragrant little pancakes are also great with the ice cream. I think the final product looks really cute! Maybe I'll try making mini ones next time. These can be made ahead so they are ready when you are craving for a refreshing afternoon snack or dessert - just wrap them
individually in cling film and store in the freezer. I'm sure that other Japanese ice cream flavours would be a great pairing too - black sugar, tofu or
black sesame.
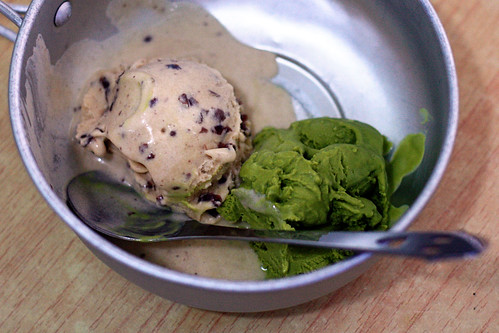
But of course, the ice creams are also wonderful eaten on its own. A quote from
FoodWishes.com:
"Stop Screaming for Ice Cream and Start Making Some." Enjoy! :D
Matcha (green tea) Ice CreamAdapted from Ice Cream Book, by Junko Fukuda (original recipe in Chinese)3tbsp Matcha powder
150ml Milk
2 Egg yolks
70g + 3tbsp sugar (measure
separately)
120ml Whipping cream
1. In a small bowl, whisk together 3 tbsp of sugar with the matcha powder until smooth.
2. In a separate large bowl, whisk together 70g sugar and the egg yolks until pale yellow.
3. Heat the milk in a small saucepan until just about to boil.
4. Mix the yolks and the milk, adding the milk in small portions (so you don't end up with scrambled eggs!)
5. Pour the rest of the mixture (the custard) back into the pan. Heat the mixture over low heat, stirring constantly until the mixture thickens - it should coat the back of a wooden spoon.
6. Take a few tbsp of the custard and mix it with the matcha-sugar mixture. Dissolve it into the rest of the custard base. Strain the custard.
7. Place the bowl over an ice bath to cool, stirring occasionally. Chill the mixture until thoroughly cold.
8. Mix the cream into the cold ice cream mixture.
9. Churn the ice cream in an ice cream maker, for around 20 minutes (time may differ according to your machine).
10. Transfer to an air tight container and chill until ice cream sets.
Red Bean Ice CreamAdapted from Ice Cream Book, by Junko Fukuda (original recipe in Chinese)100ml Milk
2 Egg yolks
55g sugar
150g Red bean paste (
anko) (
tsubushian - the type that still has some whole beans in it)
150ml Whipping cream
1. In a large bowl, whisk together sugar and egg yolks until pale yellow.
2. Heat the milk in a small saucepan until just about to boil.
3. Mix the yolks and the milk, adding the milk in small portions (so you don't end up with scrambled eggs!)
4. Pour the rest of the mixture (the custard) back into the pan. Heat the mixture over low heat, stirring constantly until the mixture thickens - it should coat the back of a wooden spoon.
5. Strain the custard. Place the red bean paste in a large bowl, and mix in the custard.
7. Place the bowl over an ice bath to cool, stirring occasionally. Chill the mixture until thoroughly cold.
8. Mix the cream into the cold ice cream mixture.
9. Churn the ice cream in an ice cream maker, for around 20 minutes (time may differ according to your machine).
10. Transfer to an air tight container and chill until ice cream sets.
Ice Cream DorayakiAdapted from Ice Cream Book, by Junko Fukuda (original recipe in Chinese)Makes 10 pancakes/5 sanwiches
2 eggs
80g sugar
1tbsp honey
2tbsp water
100g cake flour
1/2tsp baking powder
Oil for greasing pan (something mild like vegetable oil, NOT butter - it think it's too rich)
Ice cream of your choice
1. Beat eggs and sugar together until pale in colour. Mix in the honey and water.
2. Sift in the flour and baking powder, mix together gently until no lumps remain.
3. Chill mixture for one hour.
4. Before frying the pancakes, mix the batter thoughrougly again. Have a wet cotton towel ready. Heat a non stick frying pan over medium heat and brush on a thin layer of oil. Remove the pan from heat and place on the wet towel to cool down the pan.
5. Using a ladle or measuring cup, pour in some batter to form a 10cm circle. Put on a lid, and cook the pancake over extreme low heat.
6. When bubbles appear on the pancake, flip it and cook until slightly brown. Cool on a wire rack. Repeat with rest of the batter.
7. Leave the ice cream to soften for a bit. Sandwich the ice cream in between two pancakes of similar size and shape, shaping it with your hand to even out the ice cream. Freeze again to harden the ice cream.
8. If not consuming immediately, wrap each dorayaki individually in plastic wrap and store in freezer.

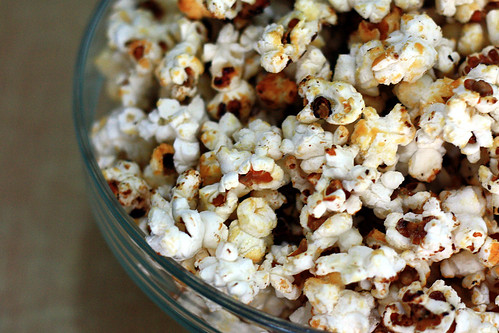 I'm not a huge fan of popcorn. I don't buy it at the movies, because I think it's always just slightly warm, and the freezing air conditioning in cinemas the cools the whole tub of popcorn before the movie even starts. And I believe that popcorn must be eaten fresh and hot, when the caramel is still slightly soft.
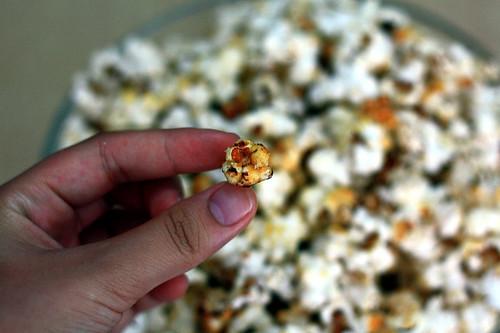 (Random point: Hmm my fingers look really dark here. And short. And stubby...)


